
As time goes, the Internet becomes a more and more regulated place. Users today are way more limited in actions than at the dawn of the Internet. Authorities around the world put efforts to restrict piracy and protect content online every day, and even your workplace or school can have additional restrictions. With all these trends, people often found themselves forced to find a way to access one or another site. Surprisingly, you can find tools to solve these tasks in Google services. This article will cover the topic of Google services as proxies and provide instructions on how to use Google as an SSL proxy.
How to Use Google As a Proxy
Some platforms on the Internet, like YouTube, may block access to some of the content based on your location at the time, or to prevent breaking of copyright laws. Authorities can easily block access to sites and pages in certain areas, based on local legislation. More than this, even public school or workplace networks can block connections that are powered with the needed certificate. Your HTTP with TCP or HTTPS with TLS connections might be blocked for so many reasons that methods for bypassing become necessary.
One of the ways might involve use of the private proxy solutions. The first thing you would look for in that case will be services that claim to provide free proxies. But in most cases, solutions like this put your personal data at danger.
Basically, proxies can work as the bridge that helps your device to get indirect access to blocked sites. So with free and other kinds of shady proxies, your personal information will always be put in danger. In other words, you won’t have any guarantees that your data won’t be stolen and used in reverse against you. In the worst case scenario, your device might be infected with malware and that could have much worse consequences.
If you are planning to make use of a proxy server in everyday tasks or in any sensitive scenarios, it is better to take time and select carefully. For handy daily use try to buy residential proxies and get a pass to any needed site at any time while staying secure.
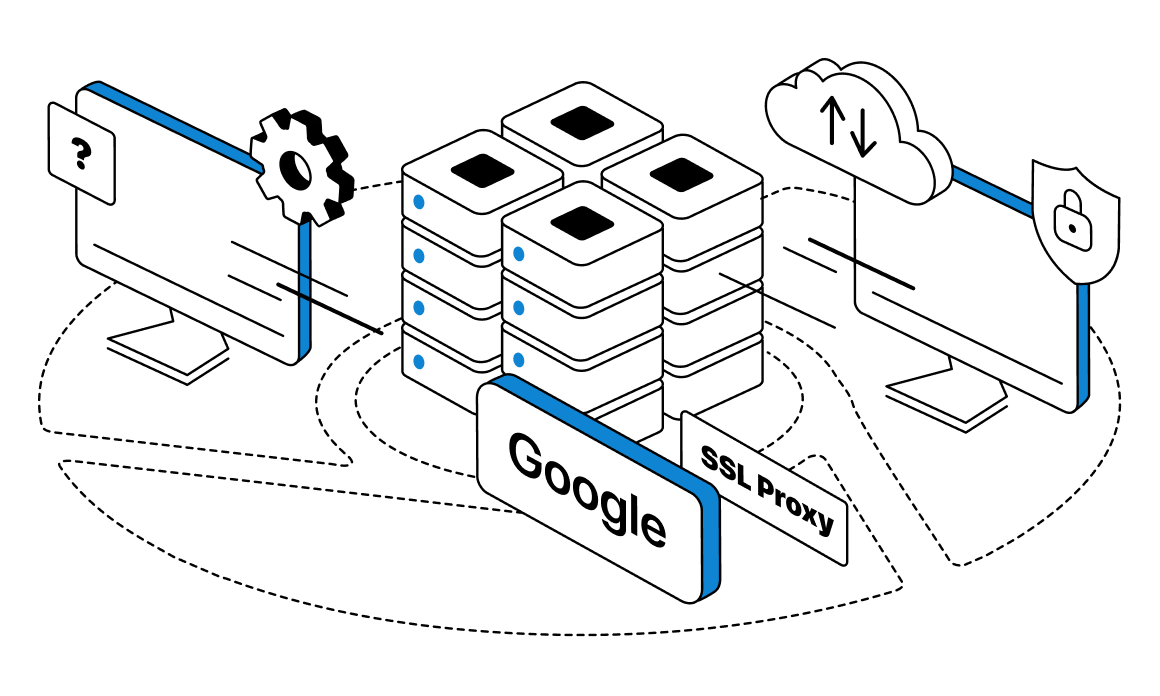
Some of the free proxy servers can be a secure enough solution. For example, if you use Google as an SSL proxy, you can stay protected. This can be a good emergency tool, to use when you don’t have any other option, but for daily use this will be troublesome. In this article, we will cover the guide for two main methods when you can use Google as Proxy for SSL access.
For your Internet provider, connection with Google sites will look like a regular browsing session. But in reality, you can look through and use most of the needed content, while staying off radar. Alternatively, try to use a datacenter rotating proxy, to get access to any needed site fast and comfortably.
Using Google Translate as a Proxy
First option in using Google cloud and regular services as a proxy would be Google Translate. This service has a feature that can provide you a way to open and browse through almost any page you need. Plus, you can translate information on site with built-in tools.
To start your setup, open the Translate page and paste or write the full URL of the needed site. After this, choose any language that differs from page one and click the “Original” option at the top right corner.
This feature of the site can help you to open almost any site on the Internet. These settings might not be suitable for everyday work, but in case of emergency, Google can cover you. Alternatively, consider utilizing a datacenter proxy for stable connection to any site, whenever you need it.
Using Google Mobilizer as a Proxy
The second approach in using Google as proxy involves Google Weblight. This service was created for performing data saving tasks and optimization sites for faster and stable loads. Weblight is used by Google Chrome browser for modifying pages code, to make it lightweight and easy to work with from any device.
Weblight is helpful for slow and old devices or in cases of network malfunctions. With Weblight you can load even the heaviest sites in seconds, while saving all the main content accessible. This technology also can be used to browse blocked and restricted sites in your area.
Keep in mind that Weblight can face some problems when loading site components. Plus, not all the pages can be transcoded or configured this way. But in most situations, you will be able to go and use the web sites normally, with all the main content intact. To start using Weblight as the proxy, copy this URL http://googleweblight.com/?liteurl=http://example. Change the “example” at the end of the link to the needed site and open it. This feature is more than enough for looking through basic data on the site, in an emergency case. For handy and stable work with blocked sites you can try to use a set of static residential proxies.
Frequently Asked Questions
Please read our Documentation if you have questions that are not listed below.
-
How can Google services work as proxies?
You can use some of the Google services as proxy sites to get access to blocked sites. In this case, your connection will be redirected through a Google service to the site you originally need to see. On the Internet provider side, it will look like you are just browsing through Google.
-
What sites can I access through the Google services proxies?
You can try to get access to any wanted site, but this solution may not work in some cases. Some Internet providers or workspaces might have more advanced blocking systems, to prevent bypassing. Or you can face an incorrect display of the content on the page. But in most cases you should be able to use the site normally.
-
What Google services can be used as proxies?
You can use Google Translate or Weblight as the proxy sites. Both of these pages allow you to redirect traffic and get access to blocked sites.
Top 5 posts


JavaScript holds the position as an extremely popular language for work with web environments. Constant improvements and later release of the Node.js increased the popularity even more. JavaScript became an essential tool for lots of different work scenarios and environments, because of the ability to be used both in web and mobile applications. In this article, we will look at JavaScript and Node.js peculiarities and discuss how to perform web scraping using Node js with projects from scratch.
Why Should You Use Node.JS for Web Scraping?
In recent years, Node.js proved its worth as the lightweight and strong tool for data harvesting. Popularity of the platform is related to multitasking and ability to operate a number of different tasks for scraping with Node js simultaneously.
More than this, Node.js is a widely used instrument that can boast a big number of users that support it with addons and other tools. Node.js became so noticeable due to the main feature of implementing JavaScript on the side of the server. This technology can give you the main advantage of using the full potential and resources of the system. But on the other hand, you will lose the ability to store cookies or work in the browsers’ windows. For better experience in web scraping with Node js you can use a rich set of functions. For example, you can open connections for networks or even read and write data on your storage.
To put it simply, Node.js is a server-side instrument that can provide both JavaScript engine advantages and freedom needed for implementation. Node.js can be used on different platforms, which is especially important when working with parsing and scraping tasks. Other important points of Node.js for data harvesting include support of HTTP calls and high potential for scalability. Plus, it's fairly simple to learn the basics of this tool, due to the JavaScript base. Also, you can power up your project with datacenter proxies. This way you can collect data from different websites without unnecessary problems.
Web Scraping With Frontend JavaScript
In case of data harvesting tasks, frontend Java is rarely a comfortable to use solution. Primarily, due to the fact that you are forced to run JavaScript in your browser environment directly. Operations of this kind can’t be performed programmatically.
There would be even more problems in tasks that require collecting information from different pages. Troubles of this kind can be solved with the AJAX approach. Plus, you should remember that you can't combine data collection from pages that are located in different domains.
In simple terms that means, when you are harvesting data from a page on Wikipedia, your JavaScript solution can scrape data from a site in the Wikipedia domain. This limits your possibilities even more, and in some cases can be critical.
However, all these troubles can be overcome with the help of Node.js. With this tool, your JavaScript can be implemented on the server, avoiding all the problems we discussed before. Also, you can use private proxy solutions, to access restricted sites or avoid blocks while scraping.
JavaScript Web Scraping Libraries for Node.js
Most of the Node.js data harvesting projects can be improved and powered up by several popular libraries that we will discuss further. First, you can try scraping with Node js and Puppeteer library and get the needed API for headless control in Chromium. Web scraping with Node js and Puppeteer can be useful for any projects that involve testing, web crawling and even rendering.
Alternatively, you can look at the web scraping with Node js and Cheerio option for comfortable and fast work with the server side of the project. Or look at the extension called JSDOM, that can provide you with a DOM environment for Node.js This way you can create your own DOM programs and further organize them with API that you already have.
Another useful library that can help you perform web scraping with Node js and requests to HTTP, called Axios. With this extension, you can work with HTTP clients both in browser and in Node.js. Alternatively, you can bring your attention to Selenium. This library provides support for multiple languages at the same time, which can help in case of automated testing. Data harvesting tasks in this library can be solved with help of headless browser utilization. Also, you can consider using static residential proxies to get fast access to any needed site.
The last library that we will look at is called Playwright. This extension has support for scripts for running tests and other useful features. For example, you can start using the browser as the tool with a prescribed set of actions. In a headless browser option, Playwright can be used as the instrument for web scraping in Node js with dynamic website.
Building a Web Scraper in Node.js
To start a project for data collection in Node.js, you should create an environment for further work. Install Node.js and add all the packages that might be needed for your scraping tasks. Almost all the extensions that we discussed before can be installed through the npm install commands. You can also use headers in web scraping for the best results over long periods of time.
Now you can begin with opening a new directory for your program. After this, locate the prompt and create a new file there for your harvesting code. Then, you can start processing HTTP calls for data that you are interested in. Node.js has ready-made solutions for these tasks, so you better use Axios or requests approach to start data collection. DevTools option of your browser can help to look at the page code more attentively and decide what tools and extensions are better to use for parsing. You can find it through the “Inspect” menu of your browser.
With all the wanted code on hand, you can start collecting data through the extensions like JSDOM or Cheerio. This will give you the ability to fetch collected HTML code and parse it further. All the collected information later can be saved in the JSON format file. A document of this type is especially comfortable to use in JavaScript tasks, due to the ability to use API for data retrieval.
You can build a new JavaScript object and convert all the wanted data that you extract from this file into a JSON. This will be your last step in the data collecting tutorial for Node.js. For the even more smooth experience in scraping tasks, you can consider using datacenter rotating proxies for best performance over long periods of time.
Conclusion
In this article, we covered all the main topics about Node.js theory and implementation. Frontend JavaScript is lacking several main features that come as essential for data harvesting projects. At the same time, Node.js can provide all needed tools for comfortable work on scraping with Java Script. Big variety of libraries and abilities for customization also make Node.js a more suitable and popular tool for data collection.With all this knowledge behind, you can choose the right library and build your own project to perform web scraping with Ruby or Node.js from scratch. For best experience in all of your further data harvesting, consider using a set of residential proxies. This way you can access any site and page you want regardless of whether it is blocked or not. This type of connection can also be a perfect solution as a proxy for scraping software.